

Note: Some supermarkets and local stores sell vegetable seed packets, plus this week the online seed orders will be up and running again. If you do not have seed raising mix, use a 50/50 blend of potting mix and sieved fine soil will be ok.
What are Microgreens ?
They are tiny edible greens grown from vegetable or herb seeds. They are harvested when very young - just 1-2 inches long including the stem and leaves. Microgreens can have wonderfully clear, intense flavours and they are certainly a very pretty addition to your plate, with their delicate and often colourful appearance. Microgreens are very easy to grow. You can grow them outside in a garden bed, in containers, or inside on a sunny windowsill.
How can microgreens be grown?
Microgreens can be grown in any shallow container with drainage. You don't need a great depth of soil because you will be harvesting the plants when they are very young, about two inches of soil will be enough. Plastic trays from the garden centre will do, or you can punch drainage holes in the bottom of a shallow plastic food tray. You may find having smaller containers allows you to plant more varieties or have microgreens at various stages of growing so that you can have a continual supply

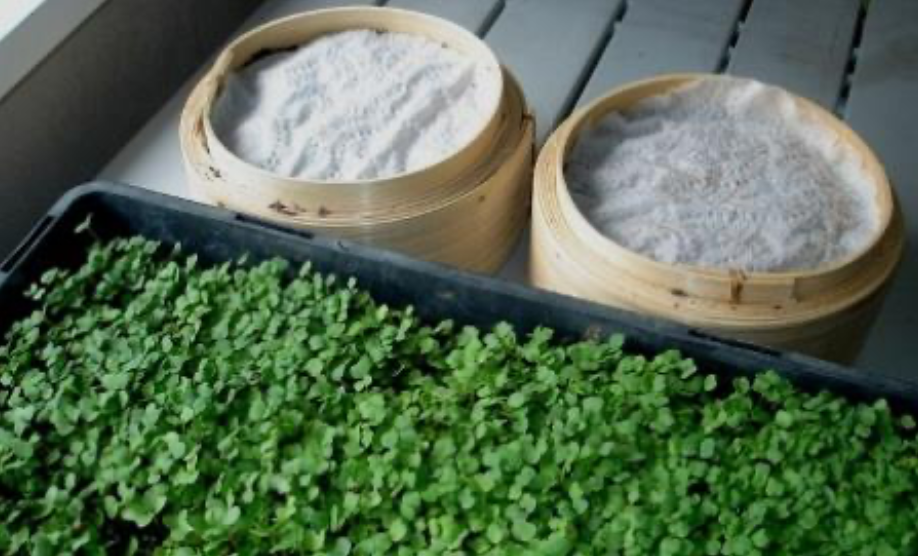
If you care about aesthetics, you can choose attractive containers so that your microgreens can please the eye as well as the taste buds. In the pictures below I have used a small bamboo steamer as a container.
Once you have chosen your container, fill it with good quality seed raising mix, to just below the rim. Some microgreens are low growing and you will need room to cut them later. You will soon learn which are low growing and which have more height.
Once you have filled your container, smooth the surface and press the mix down gently.


Some seeds to try as microgreens include mustard, peas, radish, watercress, broccoli, beetroot, rocket, red amaranth, wheatgrass, cabbage and kale.
Sow your seeds by taking pinches of seed and sprinkling the seeds generously over the surface. Larger seeds need to be sown quite thickly - think "shoulder to shoulder". Label your pot.

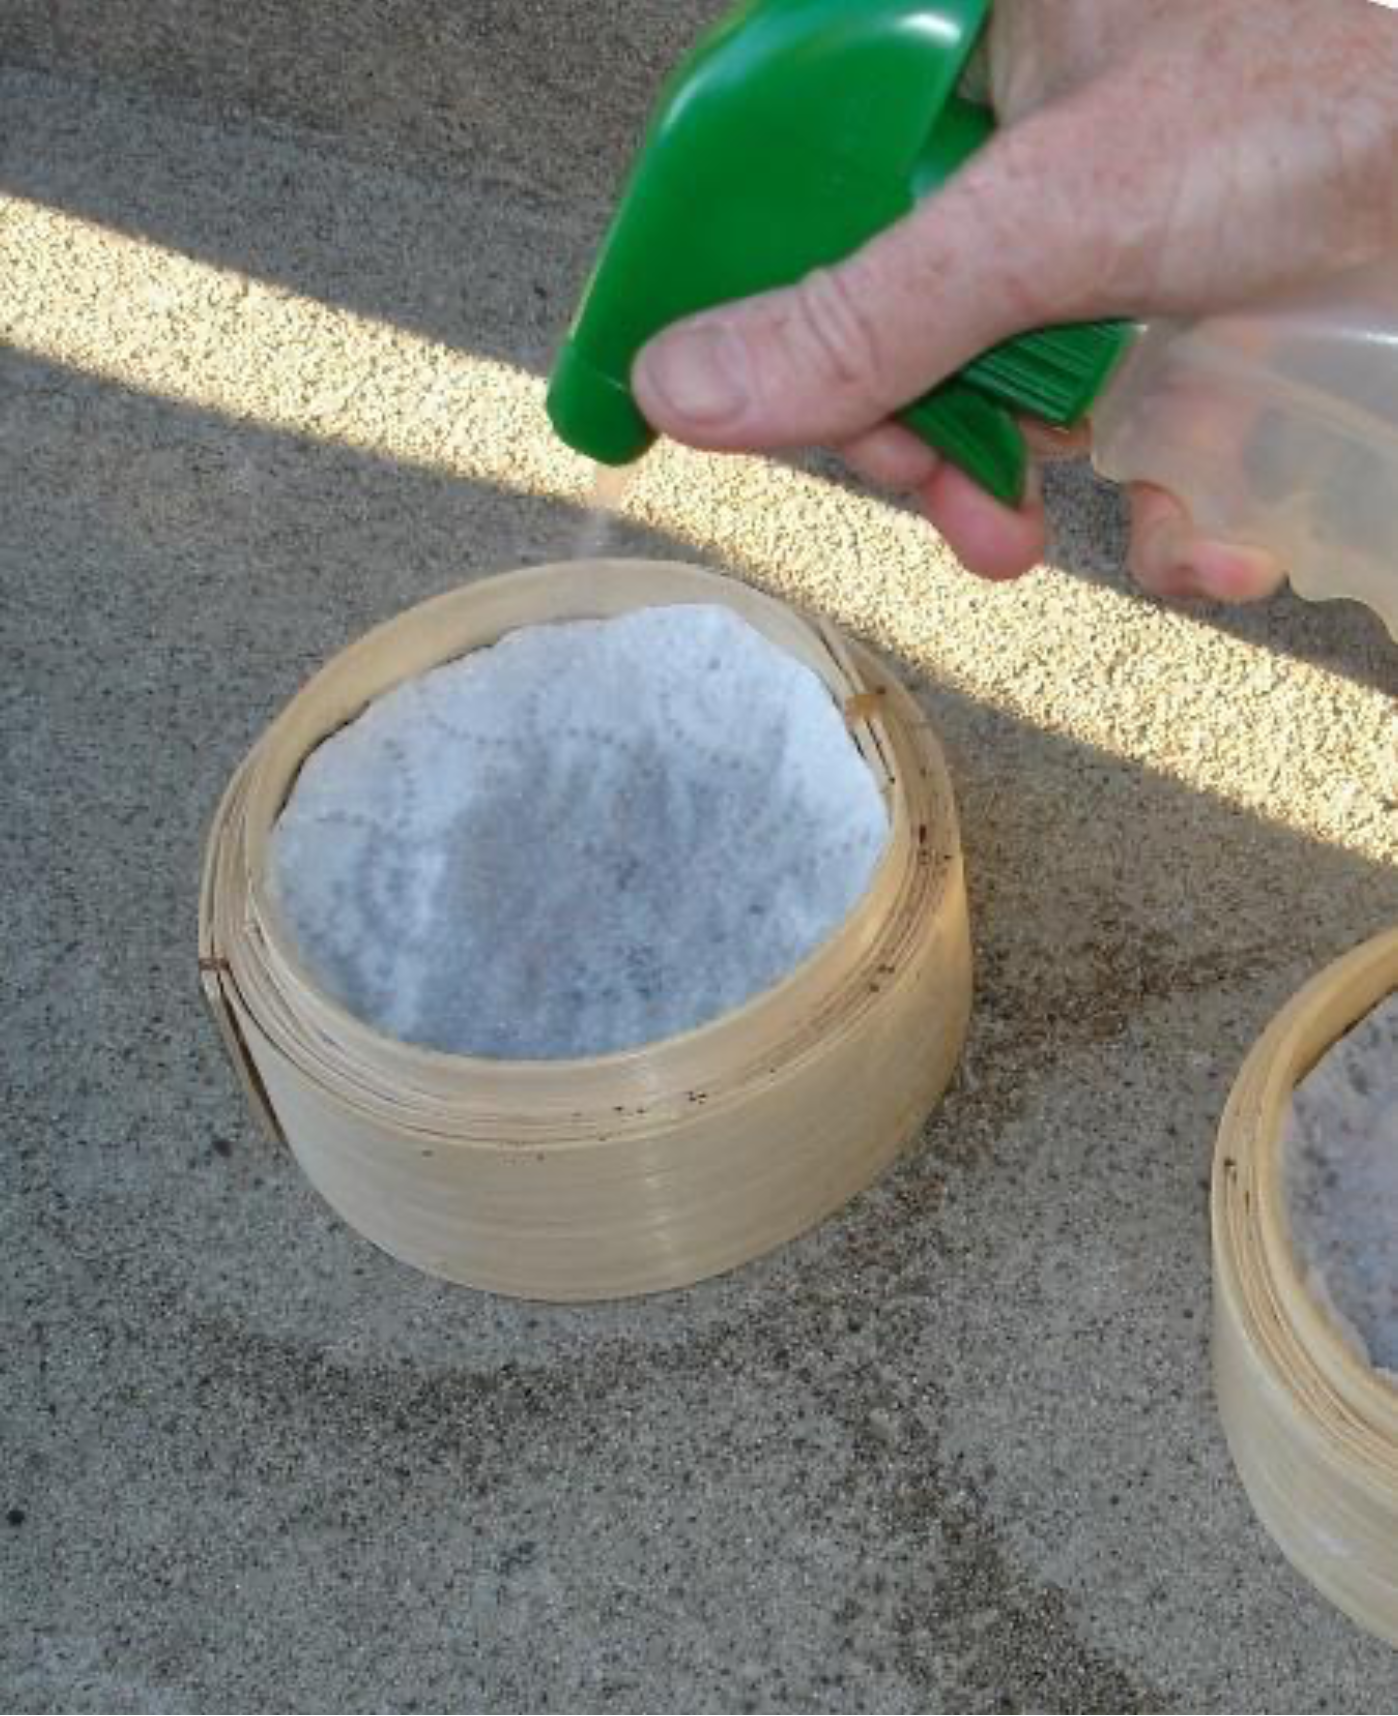

You can cover the seeds by sifting a fine layer of soil over the seeds until they are just covered, or you can cover them with either a paper towel or piece of fabric - choose fabric that doesn't have loops that will catch on the seeds.
One purpose of covering the seeds is to ensure that they don't dry out - it can be easier to use a paper towel for this because you can see when the towel is drying out and can water straight away. Using a squirty bottle to dampen down the towel works well.
If you use soil to cover the seeds you may have some lifted up by the seeds as they germinate and this will need to be removed or washed out of the microgreens before they are eaten. If you use towel coverings you may be able to keep your microgreens cleaner and may not have to wash them after harvesting - see that works best for you!
Water your tray or container either by soaking it in a shallow tray of water or by gentle overhead watering. Do not let the soil dry out. A plastic cover placed over the seed tray may help keep moisture in as well as cats out. Remember to keep the tray out of direct sun at this stage.
As the seeds germinate you will see them pushing out of the soil or lifting the paper towel. To check progress you can peel a corner of the towel back - if the seeds are sticking to the towel, it is too early to remove it. Keep the paper towel in place until the seeds have rooted themselves in the soil and then you can remove the paper towel.
Once the covering is removed, your microgreens need light to grow and can be placed either outside in a sheltered position, or inside near a window so they can get enough light. Like most plants they will grow long and leggy if they don't get enough light.

Don't be concerned if your microgreens appear to have grown some bizarre white fuzz on them. This is a normal part of the root-forming process and will disappear after the first day or so.

Harvesting your Microgreens.
It is often said that the best time to harvest microgreens is when they have developed their first set of true leaves . The first leaves that appear after germination are the seed leaves, or cotyledons. The first "true leaves" often look quite different from the seed leaves. You can, if you wish, harvest your microgreens at the cotyldon stage, harvest at first true leaf stage, or even let them grow on a little larger (the next stage up from microgreen is called Baby Leaf). They are your microgreens, so use them as you wish! Microgreens can be fun, convenient and can be cut as you require them - so delicious and so fresh!
Most microgreens will be ready for harvest about ten days to two weeks after planting.

To harvest, simply snip the microgreens just above soil level. You can harvest just what you need, but if you want to harvest more, they can be kept in a closed plastic container in the fridge and will keep for days .
Microgreens are harvested only once - unlike mesclun, which can be a "cut and come again" crop, you won't be able to get additional harvests from one planting of microgreens. Because you are harvesting everything except the very bottom of the stem, the plant has no way to generate new growth. You can compost your used seed raising mix .

How will you use your microgreens?
